How to Create a New CHM File
CHM files (Compiled HTML Help) are the standard for software documentation on Windows. Whether you're a developer documenting your application or a technical writer, creating a structured, navigable help file is essential. This guide will walk you through creating a new CHM project using CHM Editor.
1. Installation and Setup
First, ensure you have CHM Editor installed. If you haven't already, you can download the trial version to follow along with this tutorial.
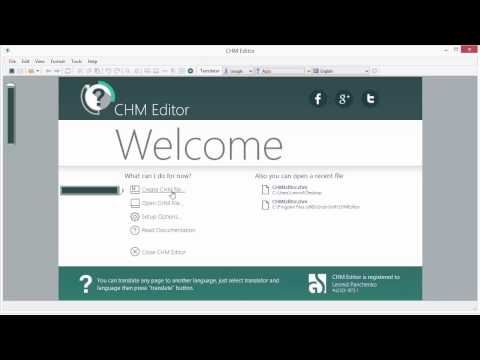
Once installed, launch the application. You will be greeted by the start screen.
2. Creating a New CHM File
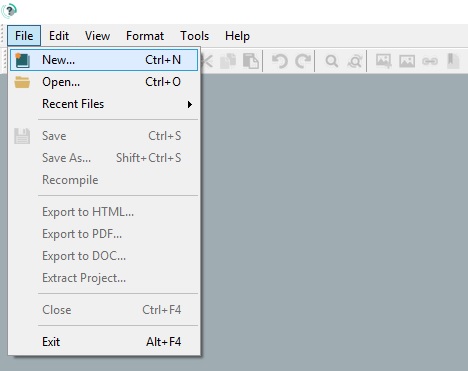
To create a new CHM file, navigate to File > New in the top menu, or simply press Ctrl+N.
CHM File Configuration
The "New CHM File" dialog allows you to configure your documentation. It's called a "project" because CHM Editor creates auxiliary files (such as project settings and source HTML files) alongside the final compiled CHM:
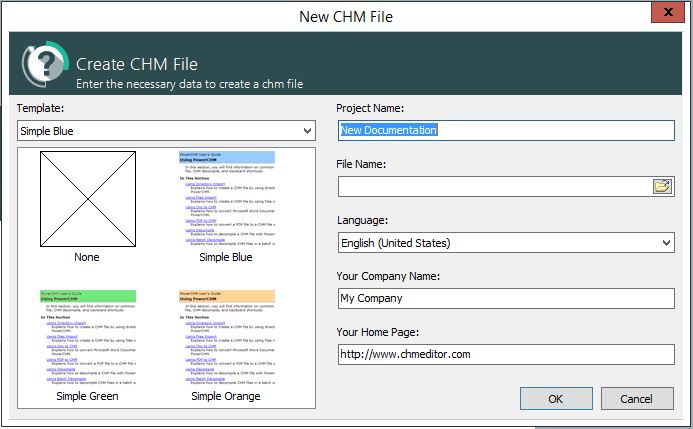
- Project Name: The internal title of your help project.
- File Name & Location: Where your project will be saved.
- Language: The default language for your help file.
- Company Name & Website: Optional metadata that appears in the file properties.
- Template: Choose from one of the built-in professional color schemes:
- Simple Blue – A standard, business-friendly look.
- Simple Green – A fresh, modern appearance.
- Simple Orange – A warm, energetic style.
3. Adding Topics
A help file consists of multiple topics organized in a tree structure. Topics are the individual pages of your documentation that users will navigate through.
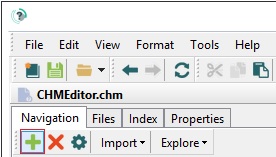
Step 1: Click the Add Topic Button
To add a new topic, click the + button in the navigation toolbar:
Step 2: Configure Your Topic
In the dialog window that appears, you can define your topic parameters:
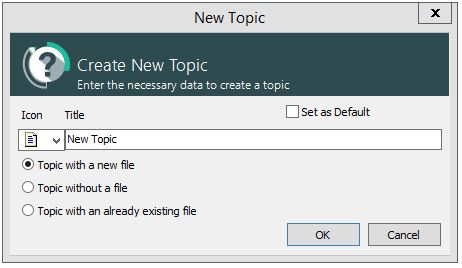
You have three options for creating a topic:
- Create with a new file: Creates a fresh, blank HTML page for you to write content. This is the most common option when building documentation from scratch.
- Create without a file: Creates a section header (folder) in the Table of Contents that holds other topics but doesn't have content itself. Use this to organize your topics into logical groups.
- Create with an existing file: Links an existing HTML file from your system into your project. Useful when you already have documentation in HTML format.
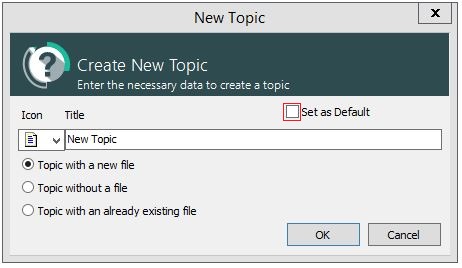
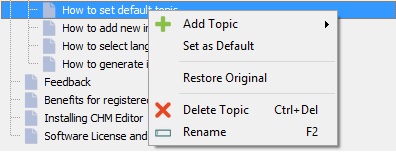
Step 3: Setting the Default Topic
The default topic is the first page users will see when they open your CHM file. There are two ways to set it:
Option A: During topic creation, check the "Set as default" checkbox:
Option B: Right-click any existing topic in the tree and select "Set as Default":
4. Editing Content
Use the editor pane to format text, insert images, and create links.
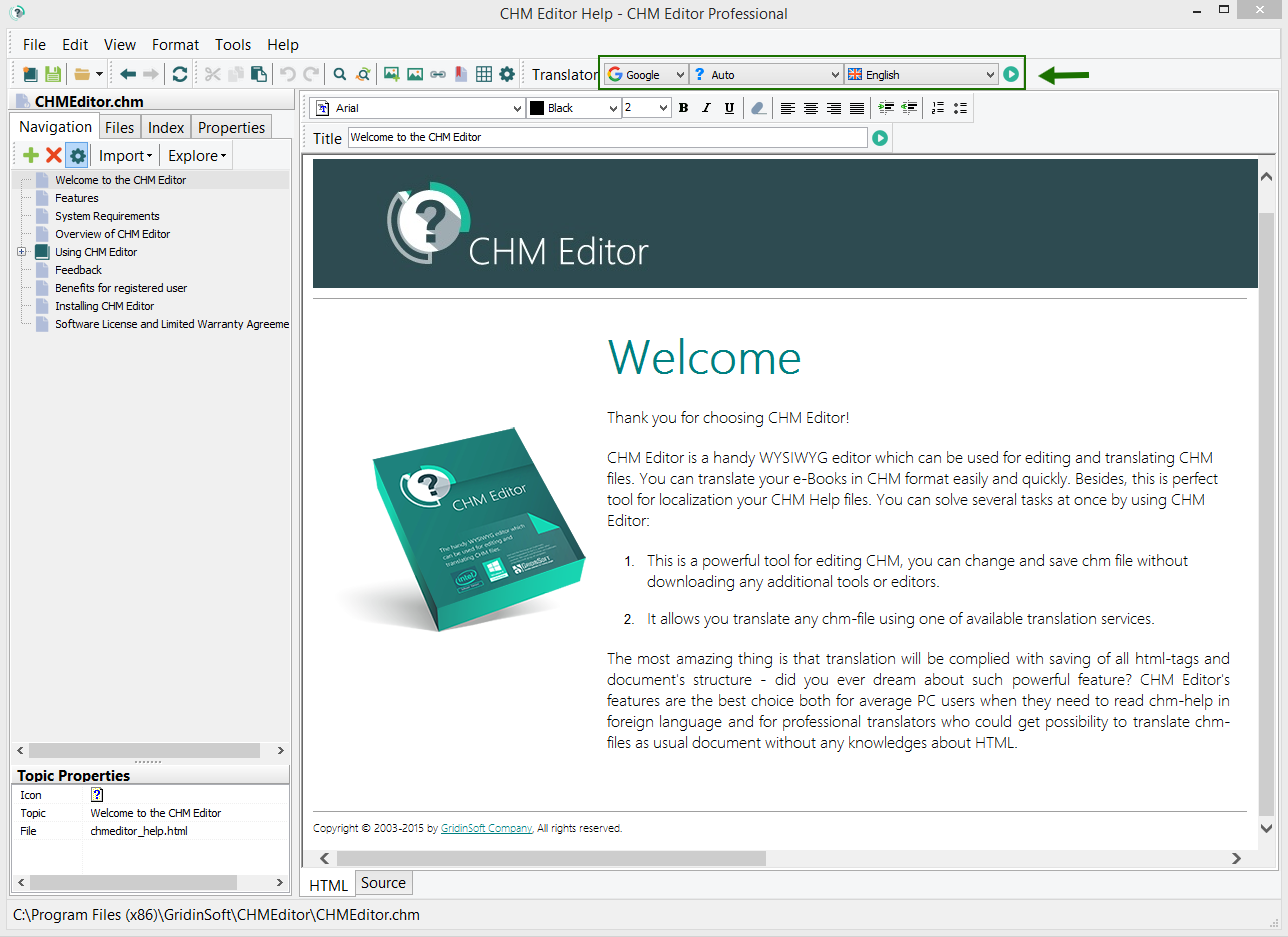
- Use the Tree View on the left to organize your help topics hierarchy.
- Use the Editor pane on the right to visually edit your content.
Translating Your Content
CHM Editor includes built-in translation powered by Google or Bing. You can translate your content in two ways:
- Translate selected text: Highlight the specific text you want to translate, choose your target language from the dropdown, and click the Translate button. This is useful for translating portions of your documentation while keeping other parts in the original language.
- Translate the entire page: Without selecting any text, simply stay on the page, choose the target language, and click Translate. The entire page content will be translated while preserving all HTML formatting and structure.
With your project set up, you are ready to build comprehensive documentation. CHM Editor handles the complex compilation process in the background, letting you focus on writing good content.