How to Edit Images in a Help File
Images are crucial for effective documentation, but editing them within a compiled CHM file can be difficult. CHM Editor provides a built-in image editor that allows you to modify screenshots, diagrams, and photos directly without external software.
Note: You can resize, rotate, and annotate images directly within your help project to ensure they
fit your content perfectly.
1. Insert an Image
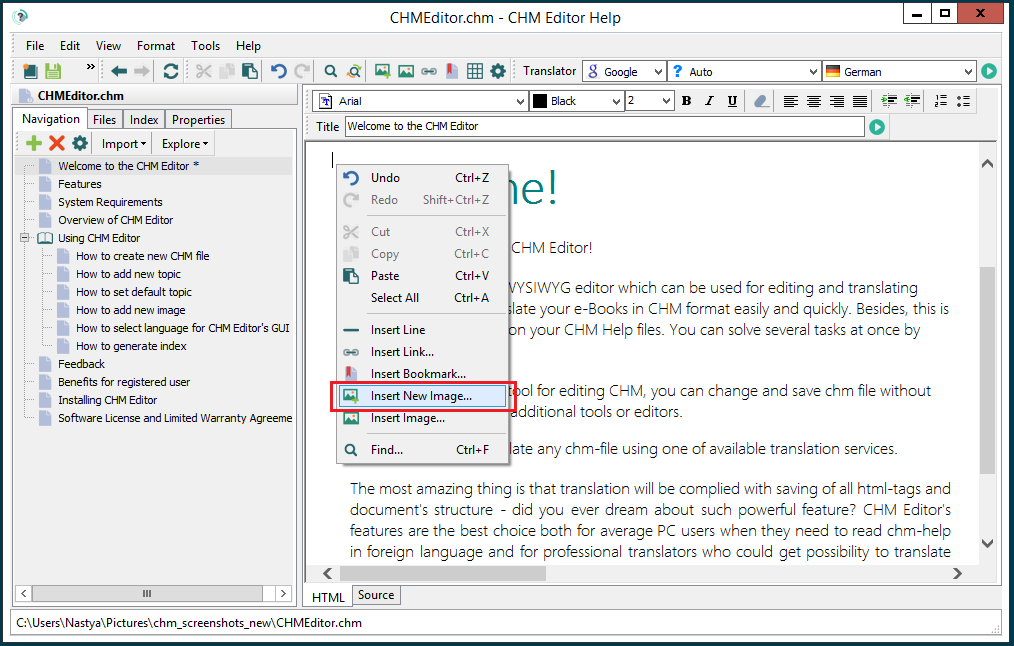
If you need to add a new visual to your topic, place your cursor where you want the image to appear. Right-click and select Insert New Image from the context menu.
2. Open the Image Editor
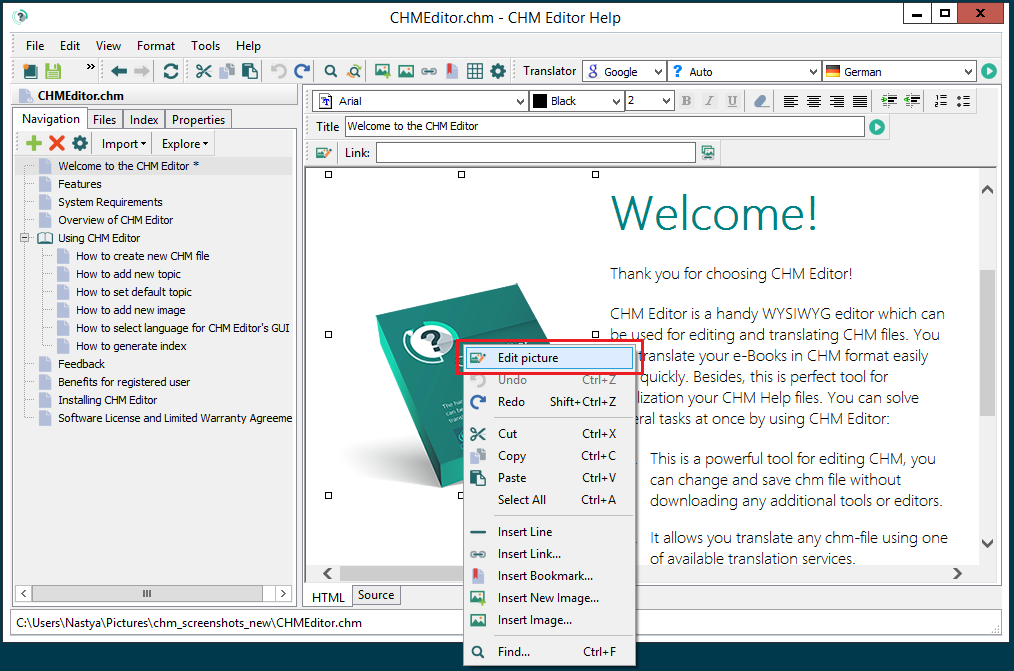
To modify an existing image, right-click on it and select Edit Picture. This opens the built-in image editing tool.
3. Apply Your Changes
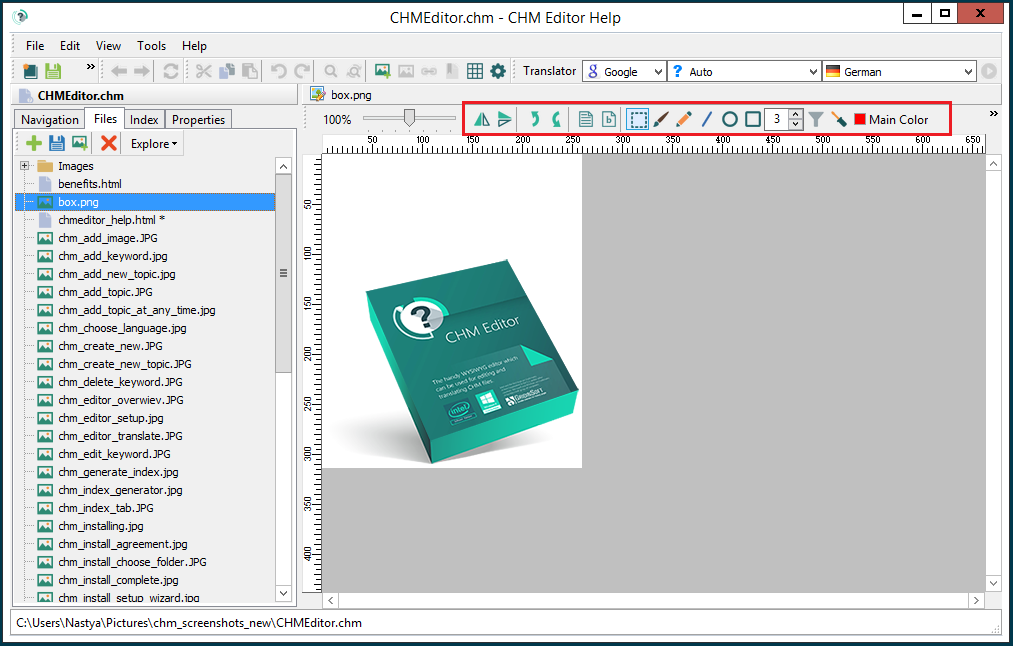
The image editor offers several tools to enhance your visuals:
- Transform: Rotate, flip, or resize the image to fit your layout.
- Annotate: Add arrows, text boxes, or shapes to highlight specific areas.
- Adjust: Crop the image or adjust brightness and contrast.
Once you are satisfied with the changes, click OK to update the image in your document. Don't forget to save your project!