Support Center
Welcome to CHM Editor
CHM Editor is a powerful tool designed for effortless editing and translation of Compiled HTML Help (.chm) files. Whether you are localizing documentation or creating new help files from scratch, CHM Editor provides a visual environment that requires no HTML knowledge.
No Decompilation
Edit and save CHM files directly without downloading additional tools.
Visual Translation
Translate content into 50+ languages while preserving structure and tags.
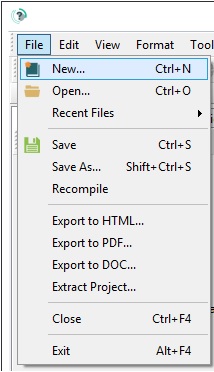
Format Conversion
Convert your help files to PDF, DOC, or HTML with just a few clicks.
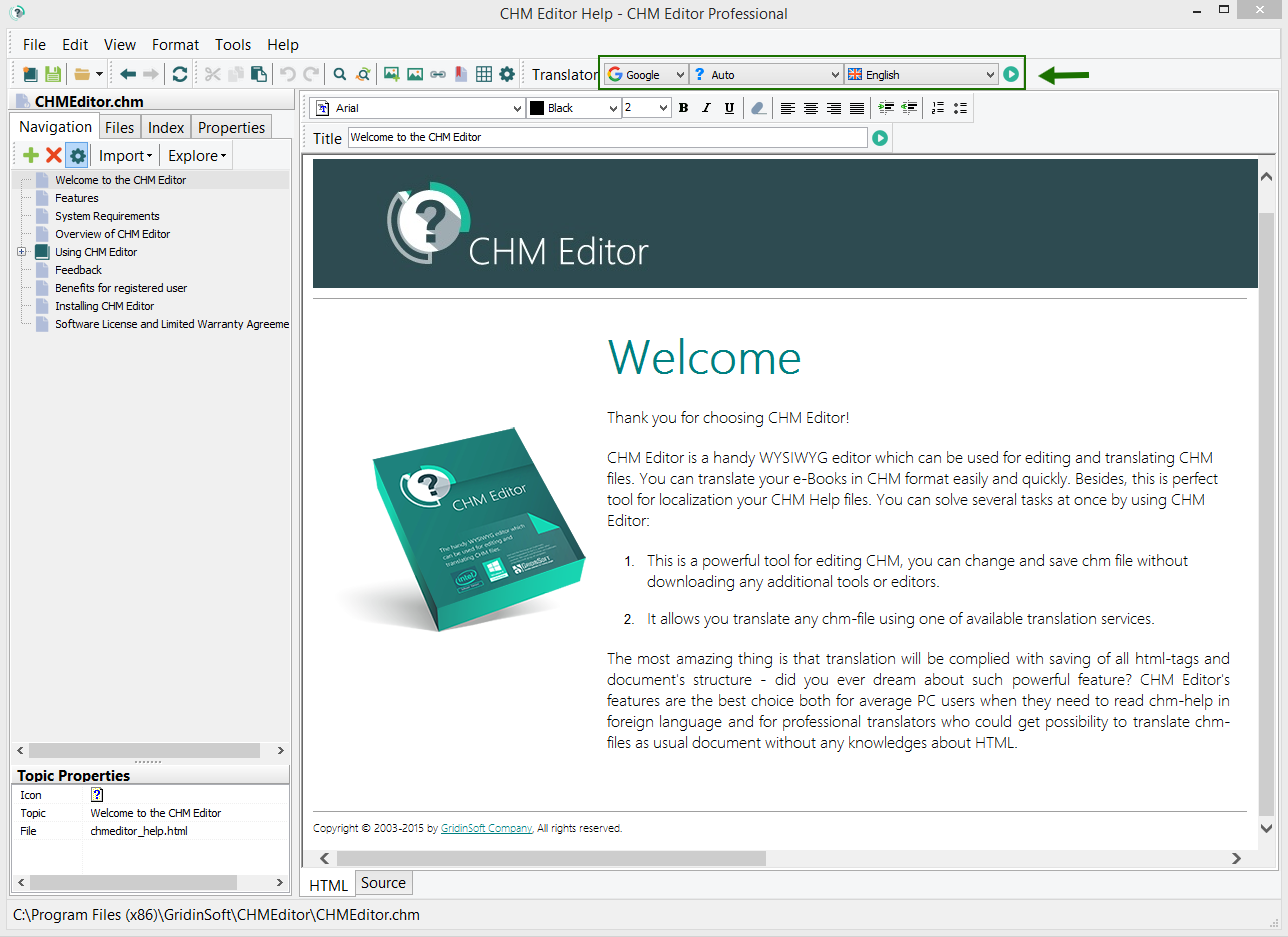
Main Interface Breakdown
left part: Navigation
The left pane displays the **Table of Contents**. Clicking any entry immediately opens the associated topic in the right-side editor.
Right part: Editor Tabs
- HTML Editor: A visual editing environment where most authoring happens.
- Source Code: Access the raw HTML tags for fine-tuning your topics.
Localizing Your Files
CHM Editor simplifies the complex task of document localization. The translation is performed while preserving all HTML tags and the document’s original structure.
- Select the text you want to translate (or stay on the page for full translation).
- Choose your target language from the dropdown menu.
- Press the "Translate" button.
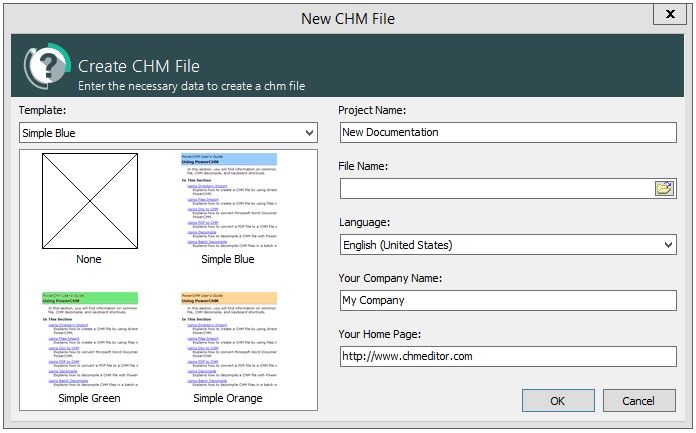
Creating a New Project
Starting a new help project is easy with our built-in templates. You can choose from several professional designs:
When creating a new file, you will be prompted to enter the following project parameters:
- Project and File Name
- Save location on your PC
- Default language
- Company Name & Website
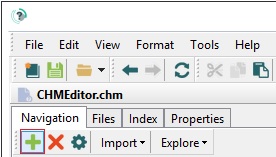
Managing Topics
Adding content to your project is straightforward. You can create topics that are linked to files or purely structural entries.
1. Click the + button in the navigation toolbar:
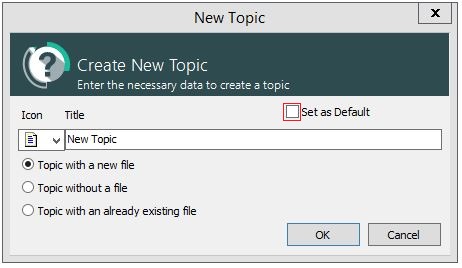
2. Define your topic parameters in the dialog window:
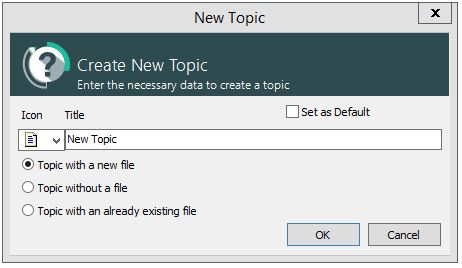
- Create with new file: Adds a new HTML page to your project.
- Without a file: Creates a structural heading in the TOC.
- Existing file: Links an existing HTML file from your system.
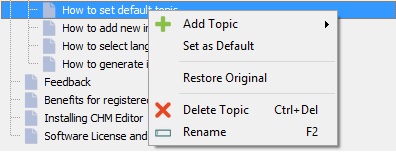
Setting the Default Topic
The default topic is the first thing users see when they open your help file.
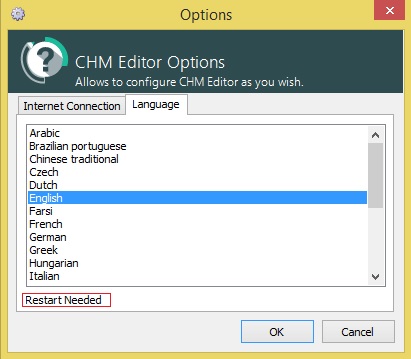
Interface Settings
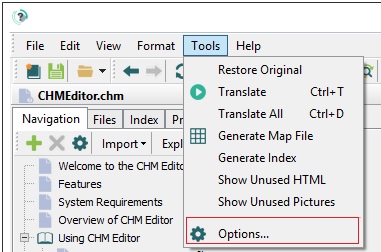
You can change the language of the CHM Editor interface to suit your preferences.
Go to Tools → Options:
Select your preferred language from the list:
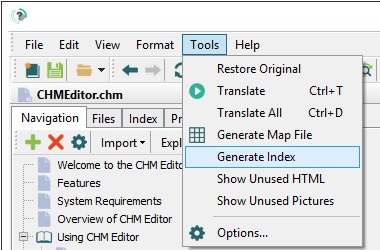
Indexing Your Help File
A well-structured index is crucial for professional documentation. CHM Editor can automate this process.
1. Navigate to Tools → Generate Index:
2. Configure the Generator settings:
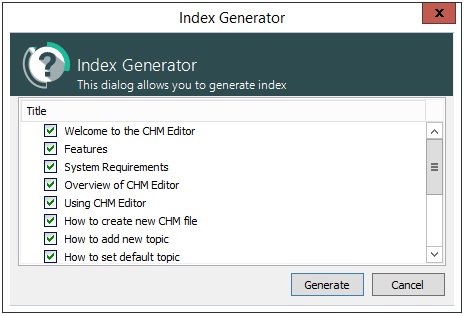
You can automatically pick topic titles as keywords and choose to update an existing index file or create a fresh one.
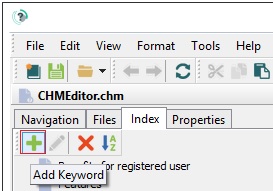
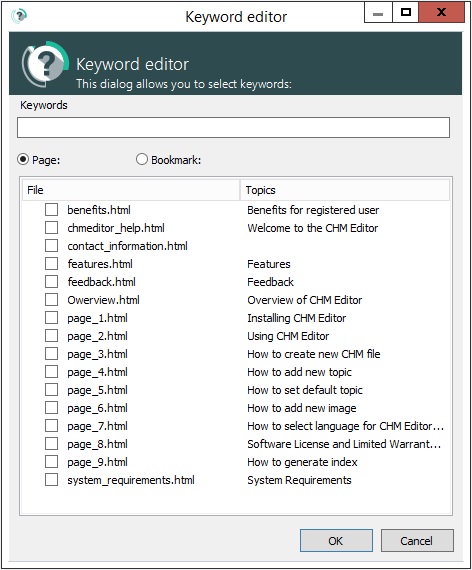
3. Fine-tune your keywords in the Index Tab:
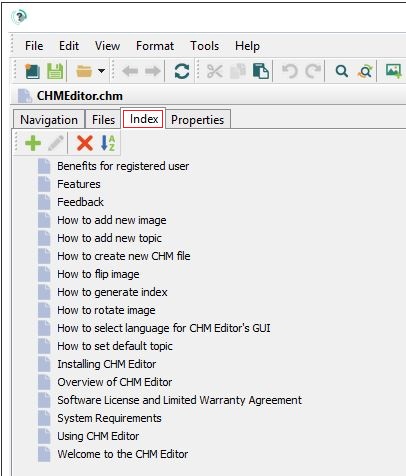
Use the management buttons to manually add or edit keywords.
Get the Full Version
Unlock the complete power of CHM Editor and support the ongoing development of the tool.
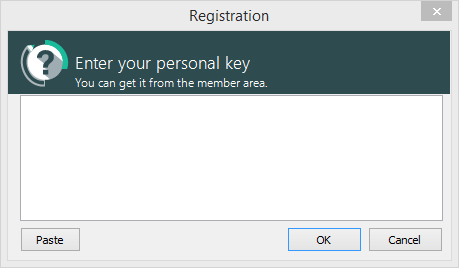
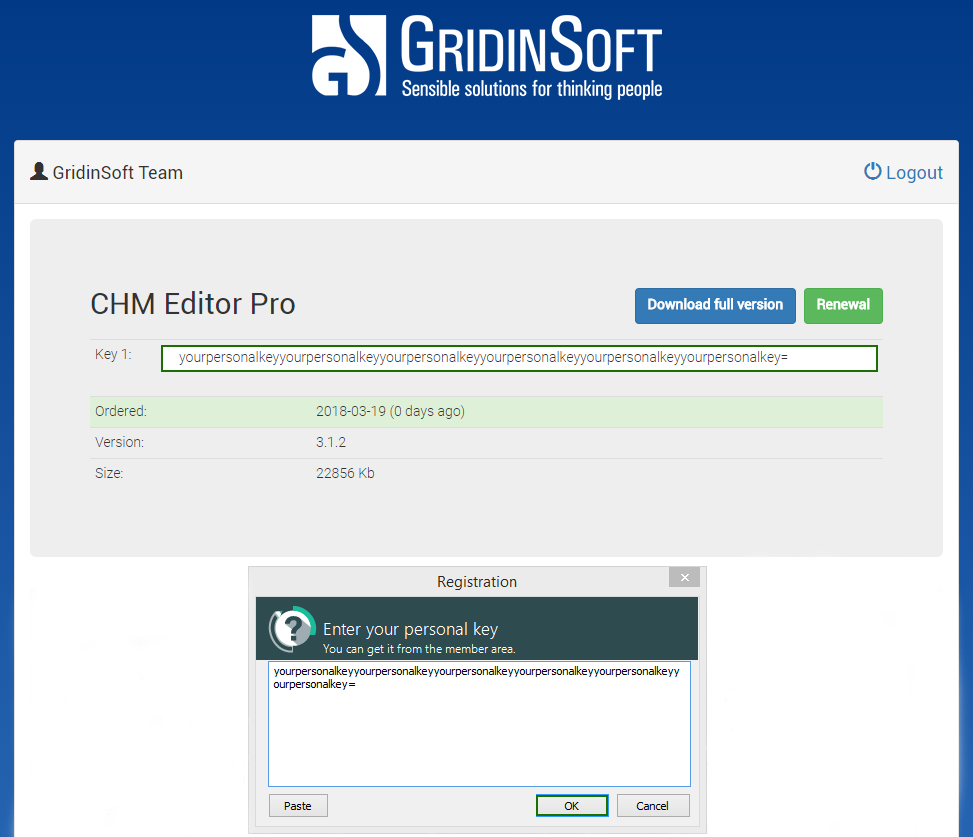
How to Activate
After your purchase, check your email for the activation details and follow these steps:
System Requirements
How to translate CHM file?
How to edit CHM file?
How to create a help file
How to insert the image in a help file
More CHM resources
What is a CHM file?
Format overview, common use cases, viewers, editors, and conversion options.
CHM to HTML conversion
Export CHM files to HTML without losing navigation, images, and topic structure.
Help file maker
Create, translate, and publish CHM help files with a modern authoring workflow.